Showing posts with label Cariad Tatting. Show all posts

Friday, 23 November 2012

Wonderful Fan... and I'm a Fan!

... of Jennifer Williams' patterns (sorry for the silly pun, I couldn't help myself).

From the beginning, I had noticed a lovely little fan on her home page that wasn't appearing in her list of patterns.  I contacted Jennifer and she very kindly provided me with the pattern.
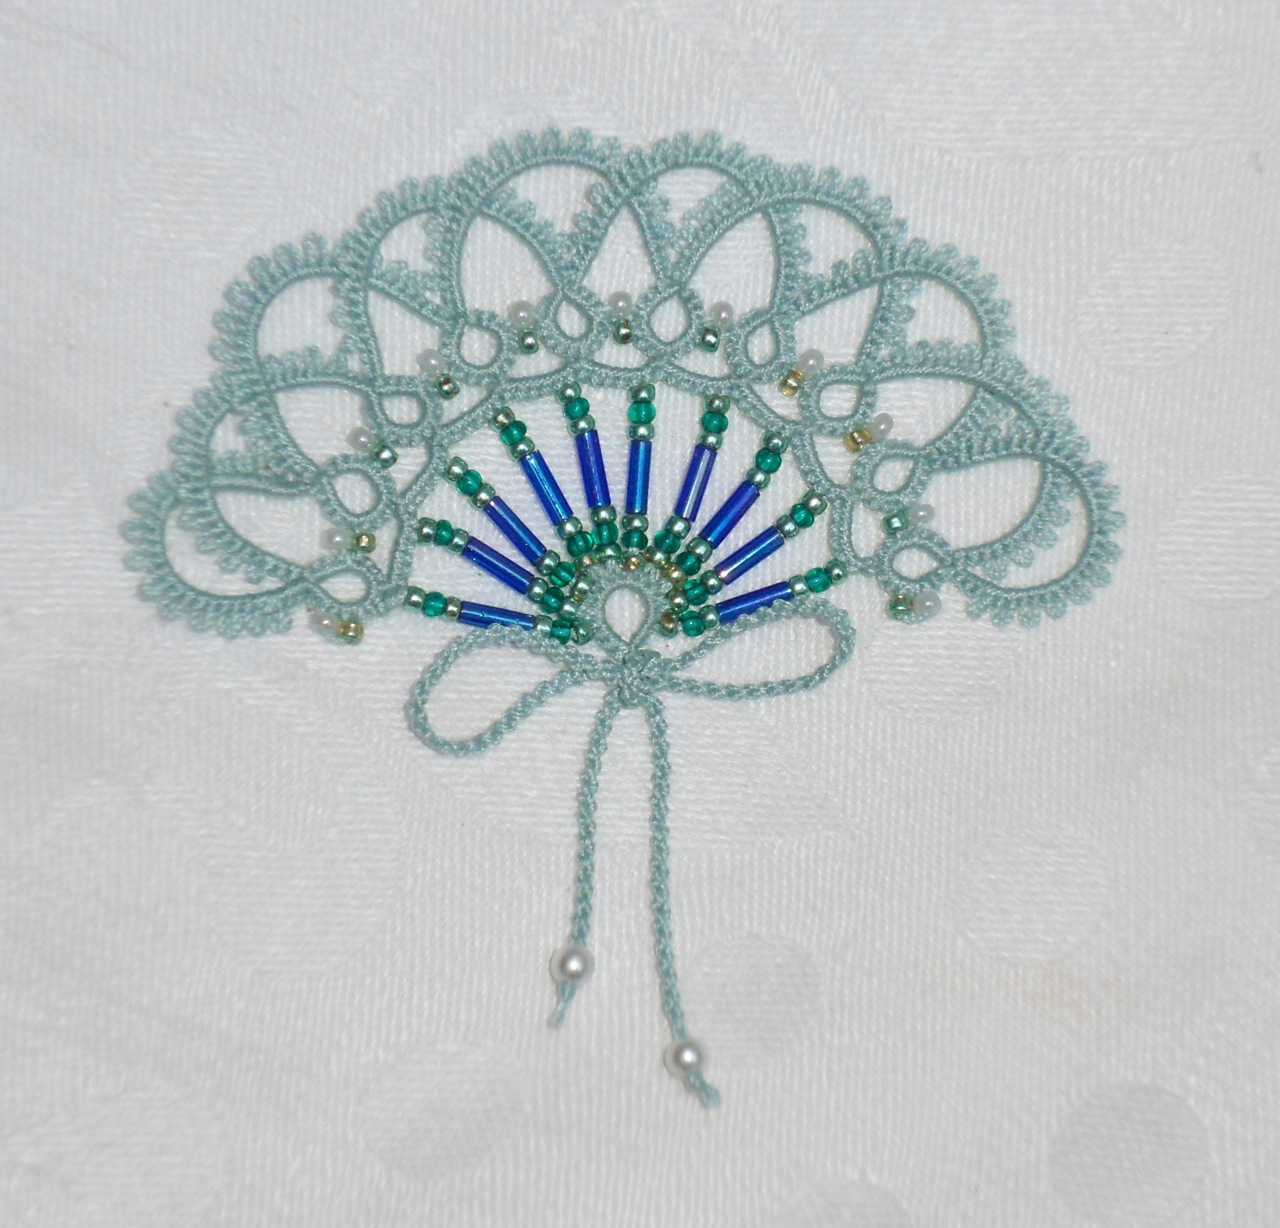
Tatted in Lizbeth 20 (660-Country Turquoise Light)

Isn't it pretty?


I think I would call this a slightly challenging pattern.  There are no difficult techniques involved but it needs concentration and some dexterity to be able to tat with things getting in the way.  When you make the first row of long chains for example, they curl in an unhelpful fashion so that when it comes time to make the second row, you have to make sure to get the criss-crossing right and that all your chains are lying correctly.  I did get the criss-crossing wrong the first time around and ended up starting over again.  You also have to place all the beads for the fan sticks (10 of them) onto the thread and hold them in place with paperclips until you are ready to make the last ring at the bottom that joins them all together.

My long chains aren't perfectly consistent and hence there are slight variations in length which bother me a little but apart from that, I'm pretty happy with this piece of tatting.


Thank you Jennifer Williams!


Best wishes,

Tuesday, 20 November 2012

A Bit More of the Same...

But not quite...  Here is the motif from the previous post.  I tried with a variegated but am not happy with that.  I'm showing you anyway.  The beauty of the design is lost with the too contrasting colour changes which I often find is a problem with variegated.  That's why I like gently variegated, subtle colour changes which allow the design to show through whilst keeping the colour an interesting element of the design.


Anyway, here is the first version:


This is tatted front-side back-side (FSBS) all the way through and I even "posted" the shuttle (passing it through the ring from front to back before closing it) on the Josephine Rings which I think gave them a better shape.

I had to do it again in plain colours.  But I did make a few changes on the next version.  In the pattern, the centre rings are attached through a long picot on the first ring but I decided to use two small picots on each ring for joining instead.  I also wanted to attach the Josephine Rings as I found they were moving about a bit too much.  I ended up changing them to small rings and attached them to the chains from the previous round and this is the result:


I'm happy with having attached the small rings as this didn't need any blocking or pressing whatsoever.  I think you will see this again in the next post as I will make it again in different colours and will make those small rings a bit bigger in the next version.  I like the look of the centre better and I generally like the look of this little motif a lot!

I've also not forgotten what I said in a previous post about redoing the centre of the small SCMR mat with two shuttles instead... well, I don't like it.  It looks a lot better with the SCMRs.  Even with the shoe-lace trick (SLT), I couldn't get the same look as with the original.  The centre motif on the right of the picture is uneven because I tried different things within the same motif.  So I have my answer and self-closing mock rings (SCMRs) are absolutely great in this instance and give that nice star shape to the centre round.


Best wishes,

Monday, 19 November 2012

More Jennifer Williams

Two more motifs from the Cariad Tatting website.  Jennifer Williams' patterns are very well written with precise instructions and even the length of thread needed to be wound on each shuttle!  What a luxury.


This first one didn't work out completely right.  Although it calls for a 1cm gauge for the long picots, I found them too short to be able to get the pointy shape as per the photo on the pattern.  It meant I had to pull on them a bit too much thereby distorting the shape of the rings slightly.  I may re-do this one with a longer picot gauge.


This second one I really like though I'm not happy with the colours I chose.  I think it definitely calls for being re-done in different colours as it's very pretty and I like how the second round overlaps the first.  Also, though not a regular FSBS tatter, in this case, I think it is well worth it but I only decided to do so on the second round.  So there, two reasons why I will need to re-tat this motif as well.

Best wishes,

Saturday, 17 November 2012

New to Me

Just a quick post before a busy weekend ahead.

Thank you to Evelyne of Le Blog de Charlette for enabling me to discover some new patterns.  They are designed by Jennifer Williams and her blog is called Cariad Tatting.  She has quite a few free pretty patterns there so do go check them out.

This is the first one I tried but I will be making a couple more.  Next to it is the small butterfly I modified from Handy Hands' pattern.


This is not a difficult pattern but I think it has an appealing shape.  The thread which I have had for a little while but never used is from Jess at Tat-ilicious.  I don't think it had a name (maybe Jess can put me right on that).

Have a great weekend everyone.

Best wishes,